Hot water is an essential commodity in our daily lives, whether it’s for a soothing morning shower or washing dishes after a hearty meal. When your hot water tank starts showing signs of wear and tear or simply fails to keep up with your demands, it’s time to consider a replacement. Hot water tank installation may seem like a daunting task, but with the right knowledge and tools, you can save time and money by doing it yourself. In this article, we’ll unveil the secrets to quick and easy hot water tank installation.
- Gather Your Tools and Materials
Before diving into the installation process, it’s crucial to gather all the necessary tools and materials. Having everything on hand will streamline the installation process and reduce the likelihood of interruptions. Here’s a list of items you’ll need:
a. New hot water tank b. Adjustable wrench c. Pipe wrench d. Pipe cutter e. Teflon tape f. Pipe joint compound g. Copper or flexible tubing h. Gas pipe fittings (if you have a gas water heater) i. Pipe insulation j. Screwdriver k. Gas leak detection solution (if applicable) l. Level m. Safety goggles and gloves
- Turn Off the Power and Water Supply
Safety should always come first when dealing with hot water tank installation. Begin by turning off the power supply to the water heater at your circuit breaker or fuse box. If you have a gas water heater, turn off the gas supply by switching the gas valve to the “off” position. Next, shut off the cold water supply to the tank.
- Drain the Old Water Heater
To ensure a smooth installation process, you’ll need to drain the old water heater. Connect a hose to the drain valve at the bottom of the tank and run the hose to a suitable drainage location, like a floor drain or outside. Open the drain valve and allow the tank to empty completely.
- Disconnect the Old Water Heater
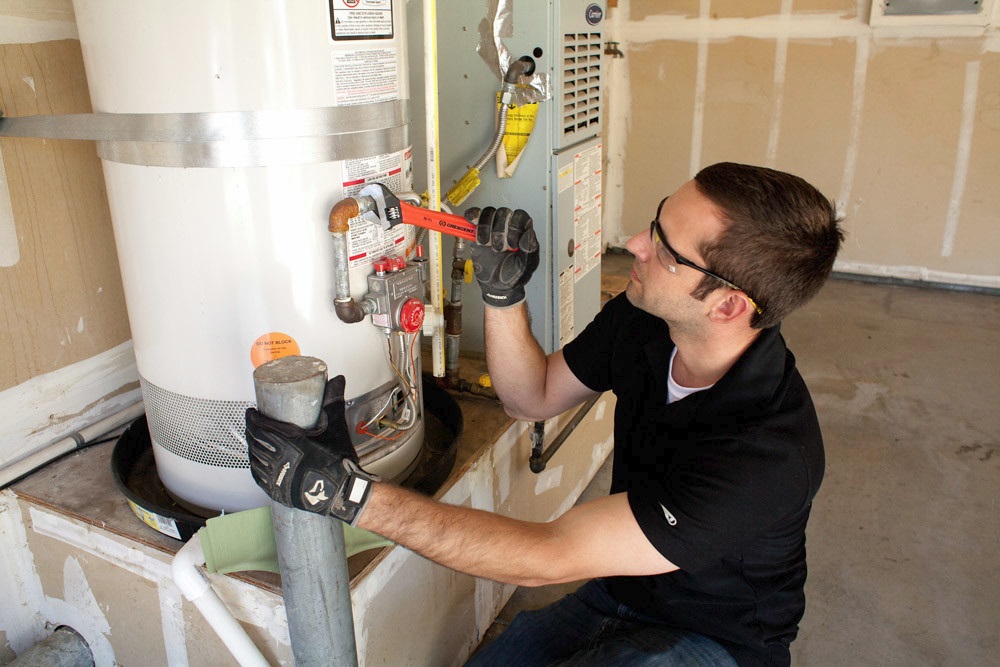
Once the tank is empty, disconnect it from the water supply pipes. Use an adjustable wrench to loosen and remove the water inlet and outlet connections. Be prepared for some water to spill during this step, so keep a bucket handy to catch any excess water.
- Remove the Old Water Heater
With the connections detached, it’s time to remove the old water heater. Carefully disconnect the gas line (if applicable) and remove any straps or supports securing the tank in place. Enlist the help of a friend if the tank is too heavy to lift on your own. Once it’s free, safely dispose of the old water heater according to your local regulations.
- Prepare the Installation Area
Before installing the new water heater, take a moment to prepare the installation area. Place a drip pan underneath the new tank to catch any potential leaks. Ensure the floor is level by using a level tool. A level tank is essential for proper operation and longevity.
- Install the New Water Heater
Position the new water heater in the installation area, making sure it sits level on the floor. Connect the water supply pipes to the inlet and outlet connections on the tank. Use Teflon tape on threaded connections to prevent leaks. Tighten the connections with an adjustable wrench or pipe wrench, being careful not to overtighten.
If you have a gas water heater, reconnect the gas line using pipe joint compound on the threads for a secure seal. Remember to check for gas leaks using a gas leak detection solution, which will produce bubbles at any leak points.
- Insulate the Pipes
To improve energy efficiency and reduce heat loss, insulate the hot and cold water pipes connected to the water heater. Wrap the pipes with pipe insulation, securing it in place with tape or pipe hangers.
- Reconnect the Power and Gas
Turn the power back on at the circuit breaker or fuse box for electric water heaters. If you have a gas water heater, switch the gas valve to the “on” position. Be sure to follow safety guidelines and recommendations for gas appliances.
- Fill and Test the Water Heater
Open a hot water faucet in your home to allow air to escape while the tank fills with water. Once a steady stream of water flows from the faucet, turn it off. Now, the tank is full, and you can relight the pilot (if you have a gas water heater) or restore power to the unit.
- Check for Leaks
Carefully inspect all the connections and joints for any signs of leaks. If you notice any leaks, immediately shut off the water supply and gas (if applicable) and tighten the affected connections or replace faulty components.
- Set the Temperature
Set the water heater’s temperature to your desired level. Many manufacturers recommend a temperature of 120°F (49°C) for optimal energy efficiency and safety. Follow the manufacturer’s instructions for adjusting the thermostat.
- Enjoy Your New Hot Water
With the installation complete and the water heater functioning correctly, you can now enjoy the benefits of a reliable and efficient hot water supply in your home.
Hot water tank installation doesn’t have to be a complex and intimidating task. By following these secrets to quick and easy installation, you can save both time and money while ensuring a consistent supply of hot water in your home. Remember to prioritize safety at every step of the process and consult the manufacturer’s instructions for specific guidance on your water heater model. With the right tools, materials, and a bit of know-how, you’ll have your new hot water tank up and running in no time.


